Internet applications
Tip: There is a glossary
containing Internet terms
and abbreviations at the
back of this user’s guide.
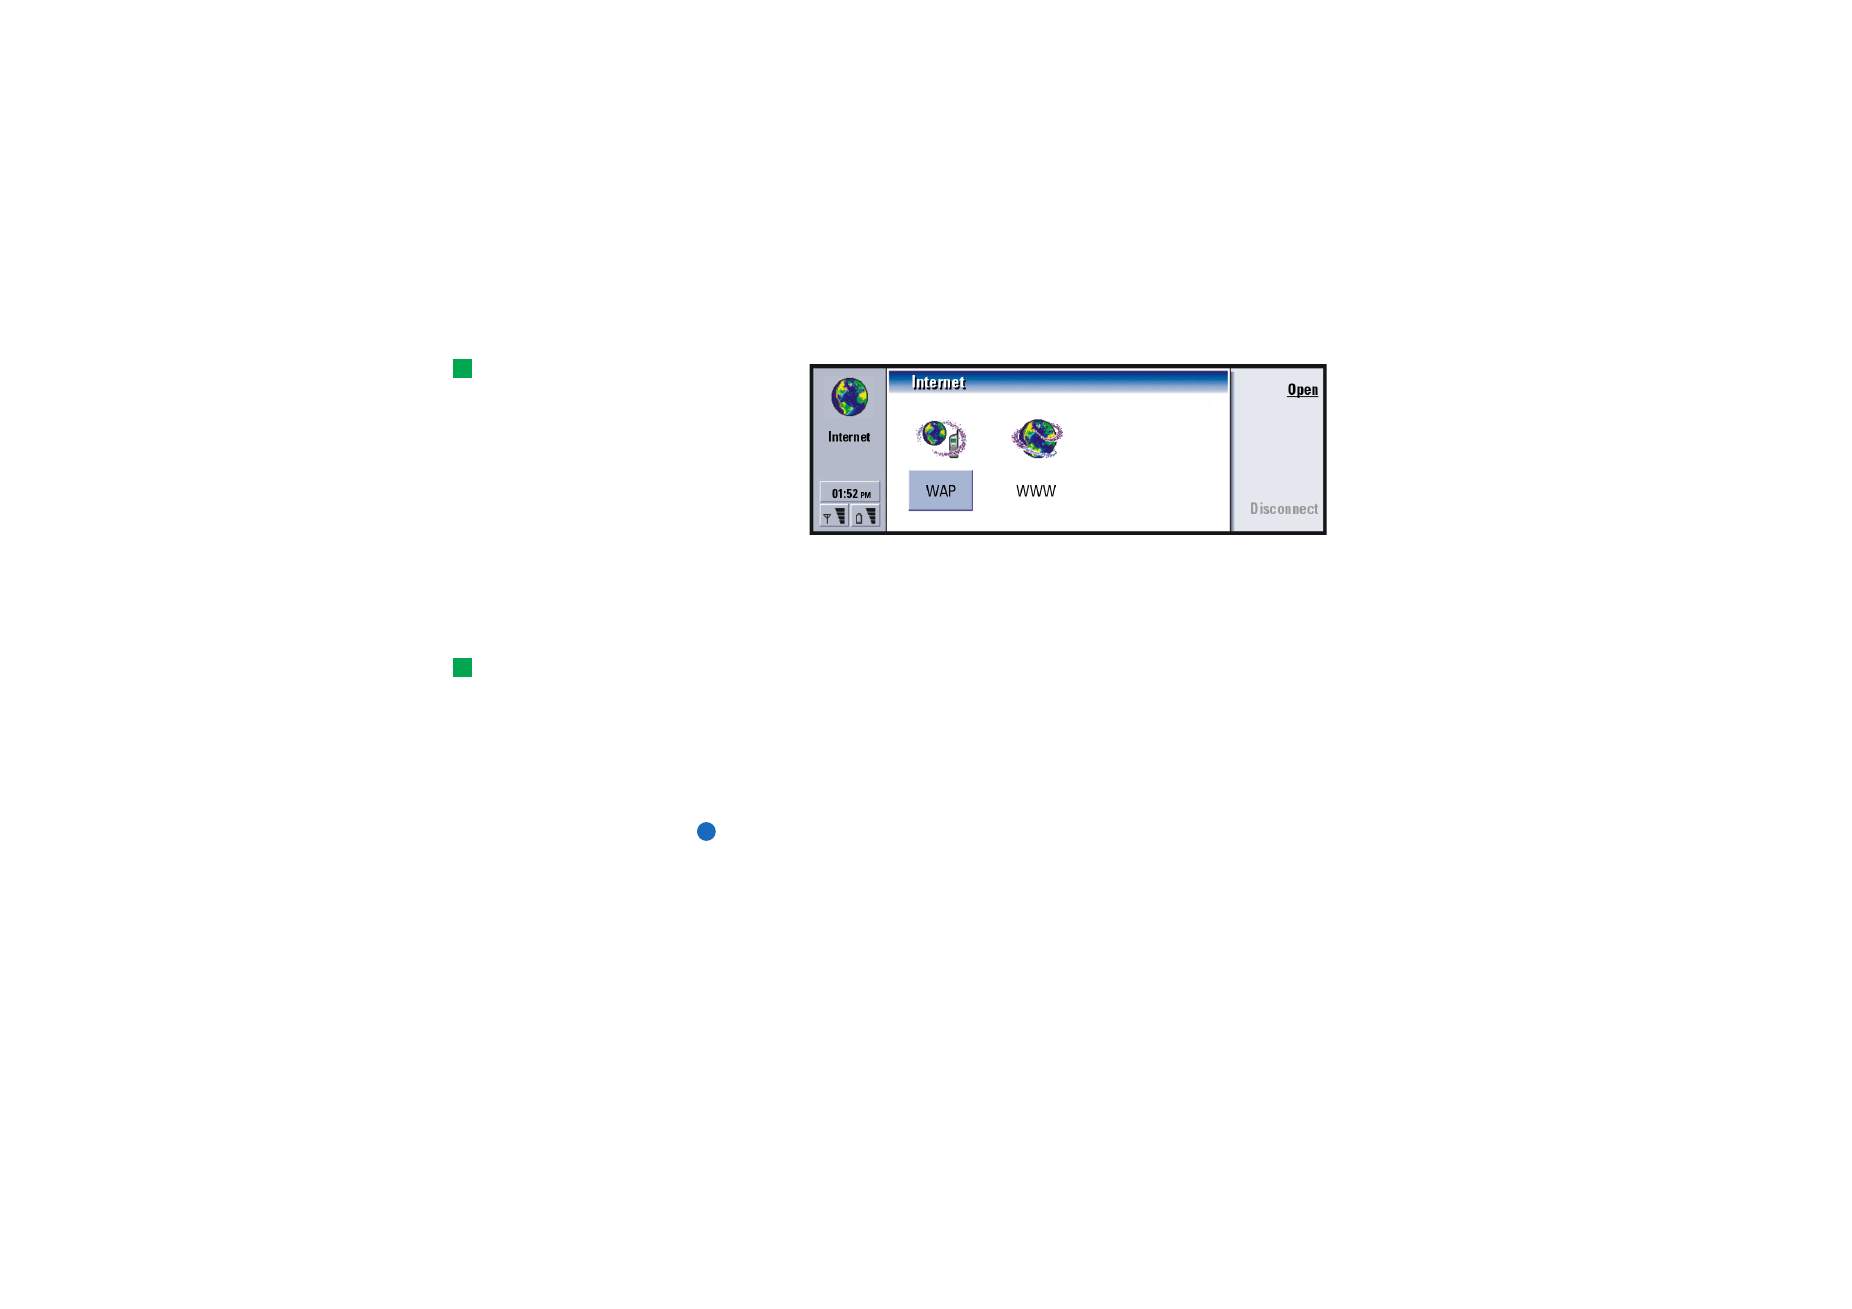
Figure 51
When you take your communicator into use, it will already have the following
applications:
World Wide Web (WWW) - A hypertext-based system for finding and accessing
resources on the Internet.
Tip: To access WAP
services, you need both an
Internet access point and a
WAP access point. See page
152.
Wireless Application Protocol (WAP) - A hypertext-based system for accessing
various types of information, entertainment, and other services. It is suited to
mobile devices with small screen displays and limited amounts of memory. WAP
uses mainly text but does support pictures.
To set up your Internet access point
Note: Before being able to use the Internet services, you need to configure an
Internet connection. Some Internet service providers may offer you the
possibility to configure your Internet settings by sending you a smart
message via SMS. This might reduce the number of settings you may
need to configure yourself, or eliminate the need altogether. Please
contact your Internet Service Provider (ISP) for details.
©2001 Nokia Mobile Phones. All rights reserved.
135
Internet
Internet connections
To set up and change the Internet settings, you have two choices:
• Go to the Control panel in the Extras application and open Internet access, see
page 212, or,
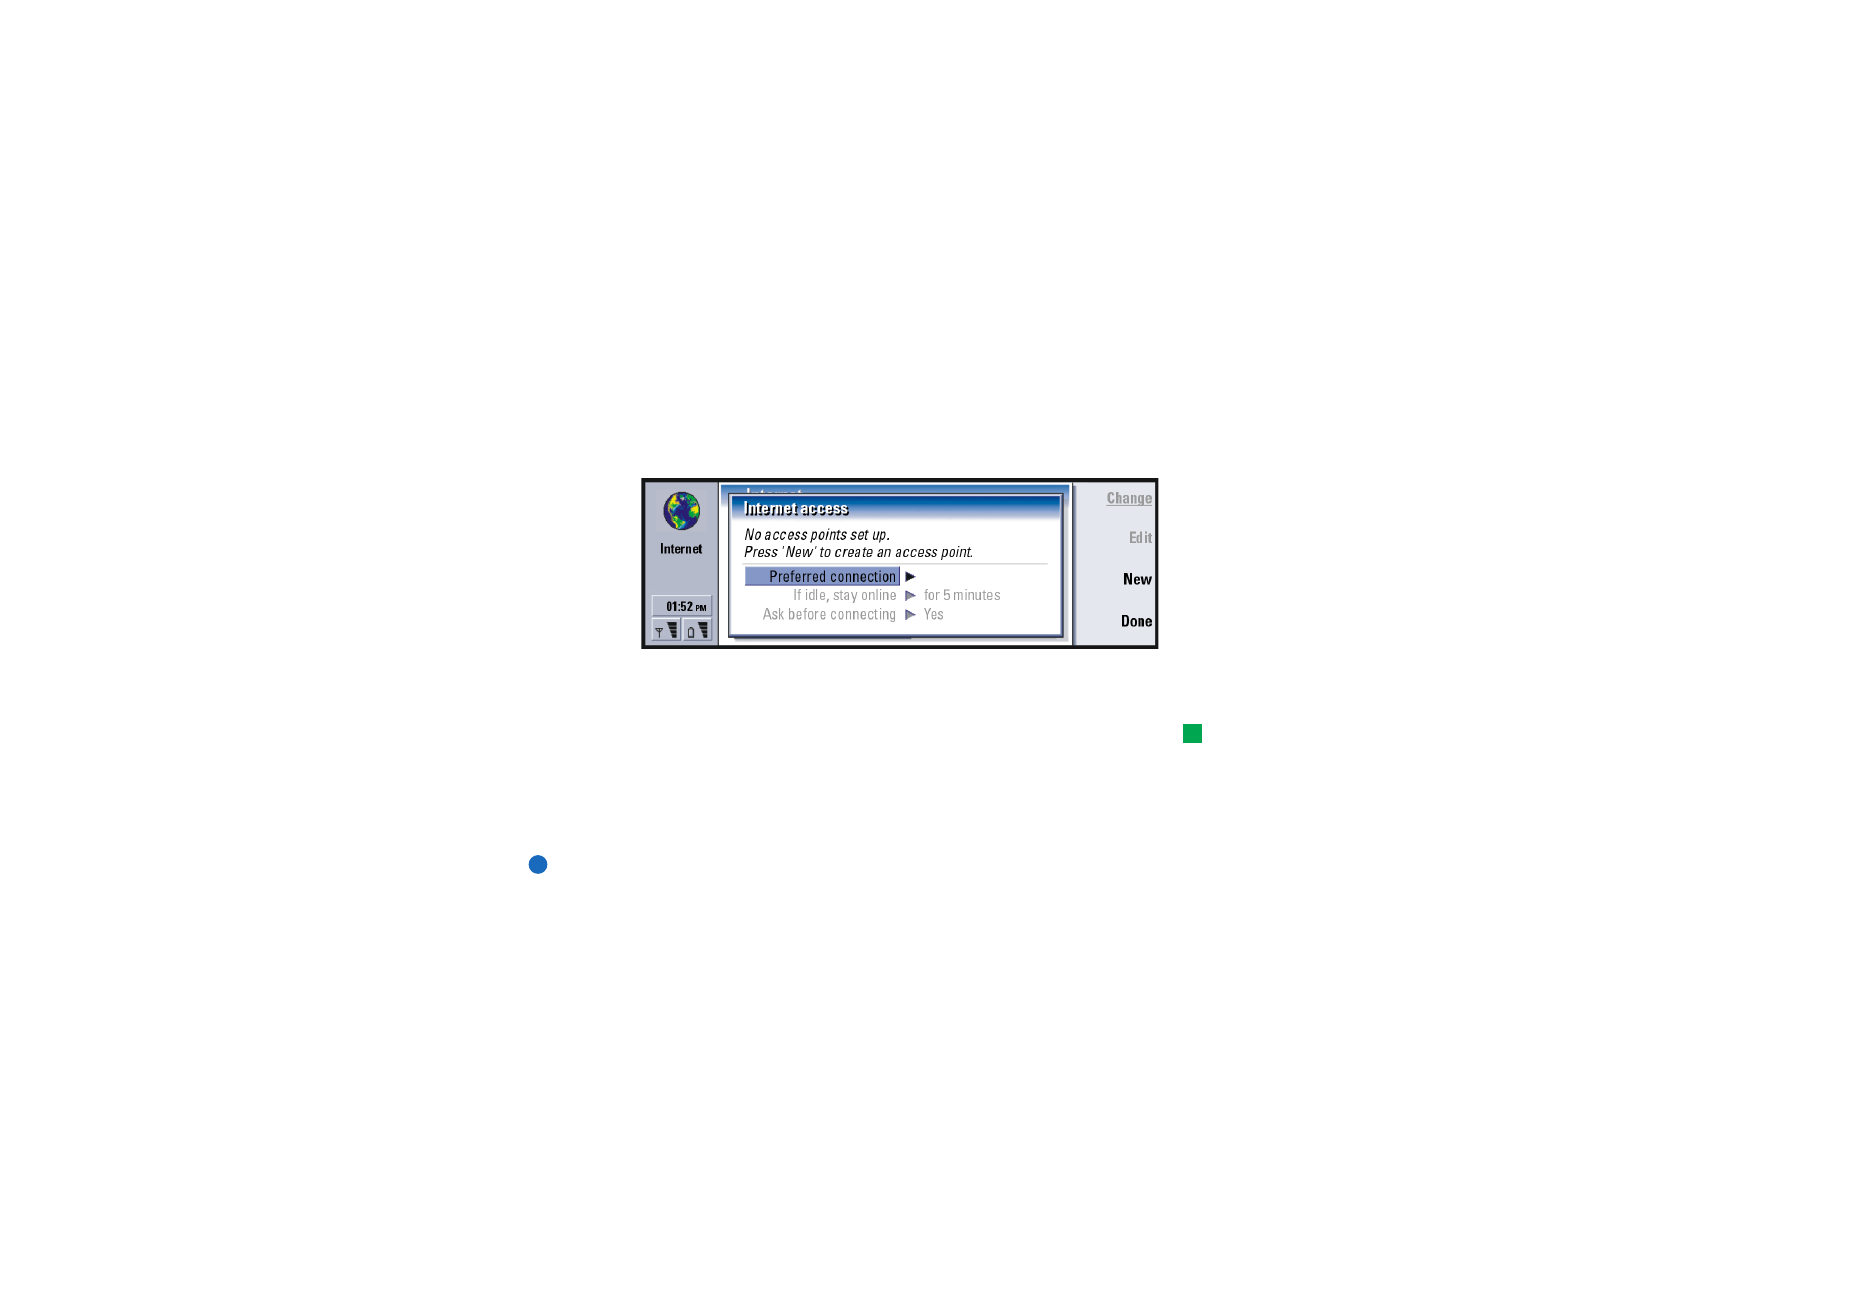
• From the Internet application main view, press the Menu key and select Tools >
Internet access…. A dialog opens, see Figure 52.
Figure 52
The first two lines contain a summary of the details of the preferred connection.
Define the following:
Tip: You may have to set
up several Internet
connections, depending on
the sites you wish to access.
For example, browsing the
WWW may require one
setup; browsing your
company’s intranet may
require another connection.
Preferred connection: The default connection which will be used to connect to the
Internet.
If idle, stay online: The connection to the Internet will automatically close after the
inactivity period defined here. The options are For 2 minutes/For 5 minutes/
For 10 minutes/For 60 minutes.
IMPORTANT: Some Internet connections may appear inactive, but they may
still be sending and receiving data in the background. These connections
may defer the start of the inactivity period specified here, and therefore
defer the closing of the connection.

©2001 Nokia Mobile Phones. All rights reserved.
136
Internet
Ask before connecting: The options are Yes/No. If you choose Yes, a connection
dialog appears every time you connect to the Internet, asking you to
either confirm, change, or cancel the connection, or change the Internet
access point. If you choose No, the communicator will choose the default
Internet access point.
To create a new connection or edit an existing connection
In the Internet connections dialog, press New to create a new connection or Edit
to edit an existing connection.
Figure 53
If you already have connections defined, you can use an existing connection as a
basis for the new connection; after you have pressed New, press Use existing.
Choose the connection you want from the list which appears, and press OK.
A dialog on connection details opens. See Figure 54.
Note: The exact values for the settings are provided by your ISP.
©2001 Nokia Mobile Phones. All rights reserved.
137
Internet
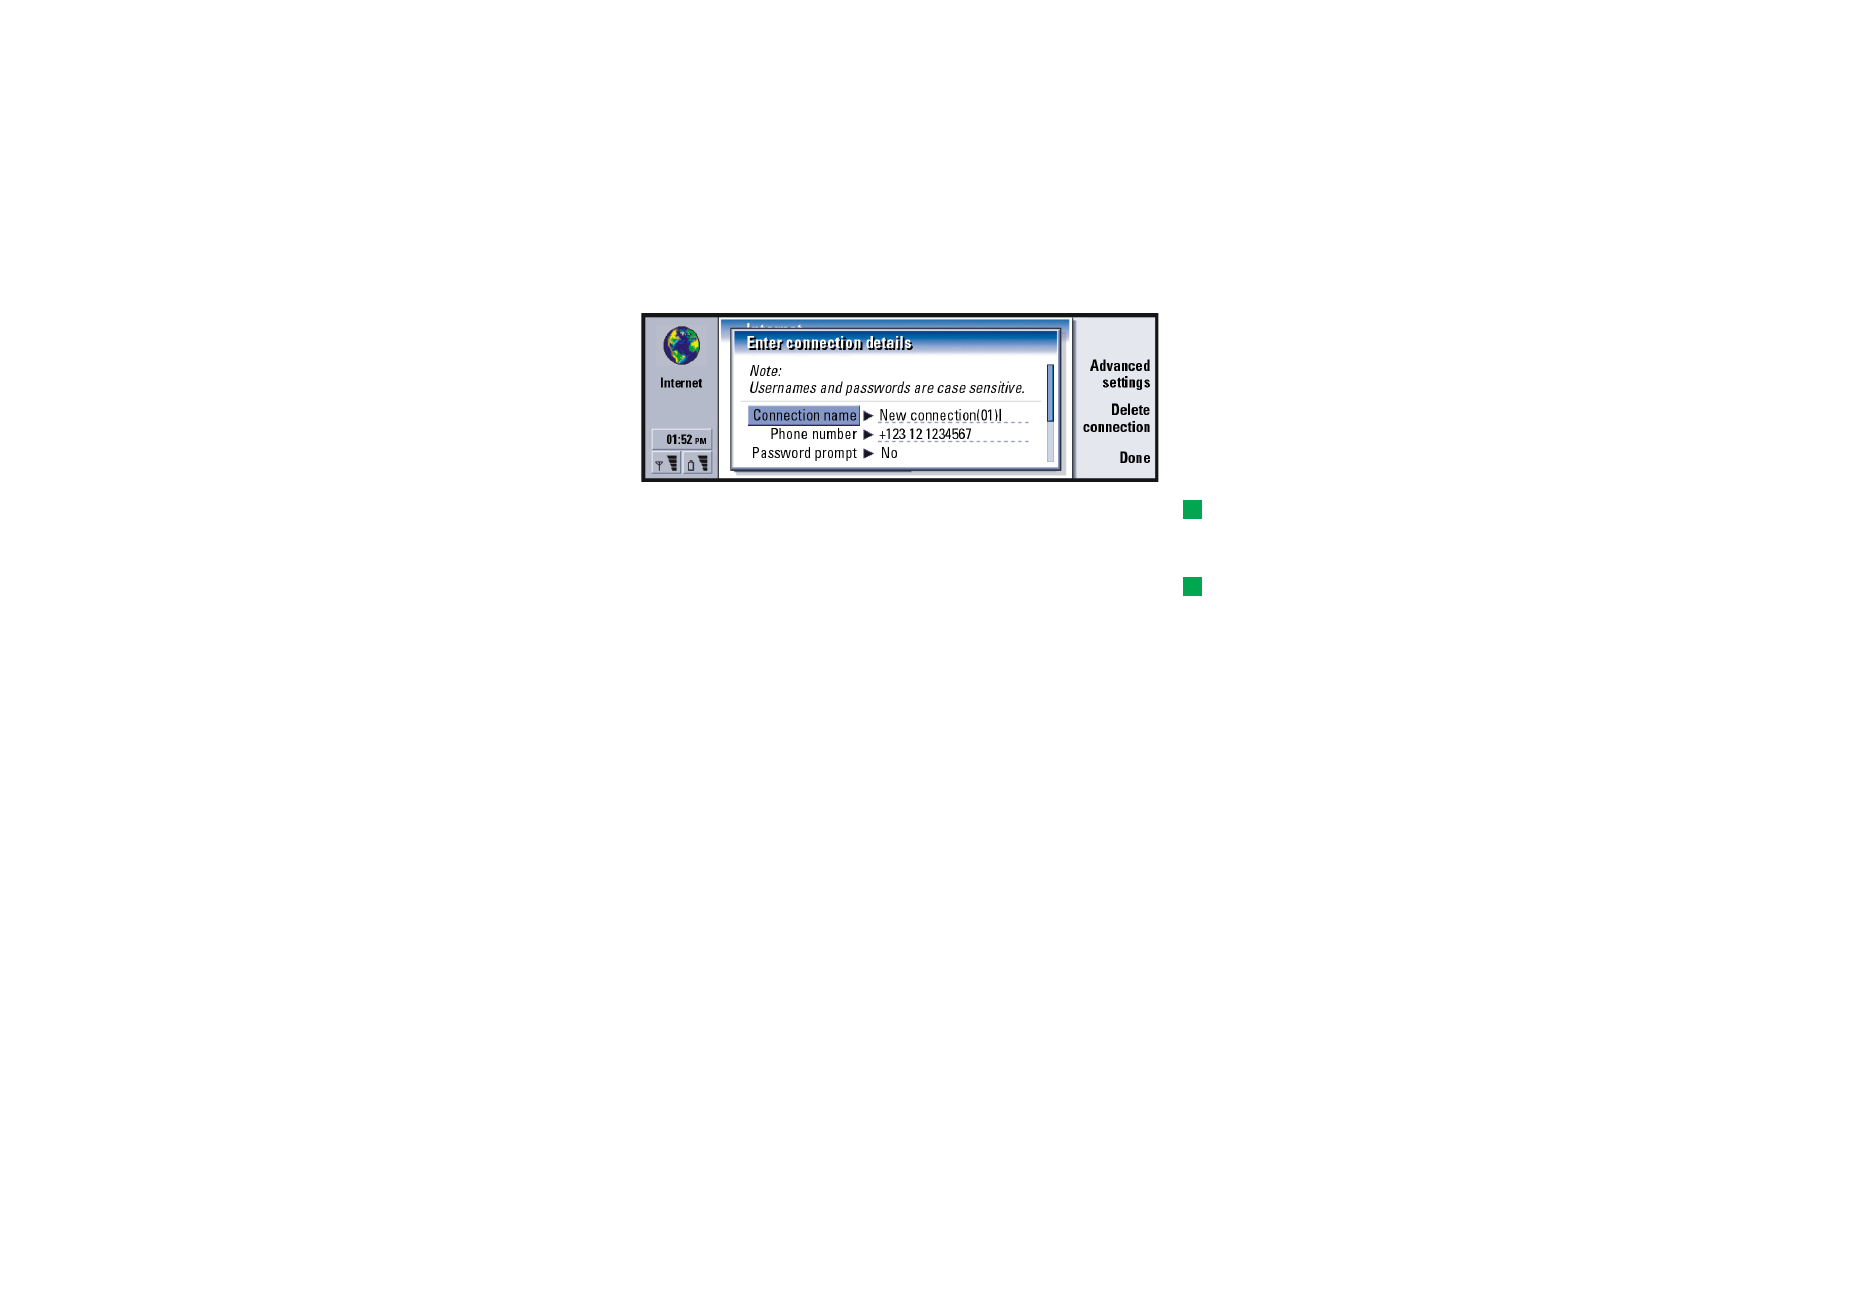
Figure 54
Tip: All your connections
should have different
names.
Connection name: Give a descriptive name for the connection.
Phone number: The modem telephone number of the IAP.
Tip: Often the minimum
requirement for an Internet
connection is: Phone number,
Username, and Password.
Password prompt: If you must type in a new password every time you log on to a
server, or if you do not want to save your password, choose Yes. The
options are Yes/No.
Username: Type in a user name if required by the Internet Service Provider (ISP).
The user name may be needed to connect to the Internet, and is usually
provided by the ISP. The user name is often case-sensitive.
Password: Type in a password if required by the ISP. The password may be needed
to connect to the Internet, and is usually provided by the ISP. The
password is often case-sensitive.
Confirm password: Confirm your password by retyping it in this field.
Press Advanced settings to define the Advanced settings of the connection. A
dialog with four pages opens.
Proxies page
You may want to use a proxy to quicken access to the Internet. Note also that some
ISPs require the use of Web proxies; contact your ISP to determine proxy details.
©2001 Nokia Mobile Phones. All rights reserved.
138
Internet
When you have made an Internet connection for your company’s intranet, and you
are unable to retrieve Web pages from the general WWW, you may need to setup
a proxy server to retrieve Web pages outside your company’s intranet.
Tip: If you set Use proxy
server to No, Port number,
Proxy server, and No proxy for
are dimmed.
Use proxy server: Whether or not you want to use the proxy server. The options are
Yes/No.
Port number: The number of the proxy port. Common values are 8000 and 8080,
but vary with proxy server.
Example: Example domain
names are: company.com
and organisation.org. In a
list, separate domain names
with semicolons.
Proxy server: The IP address of the proxy server, or the domain name.
No proxy for: You may define domains for which the HTTP proxy is not needed.
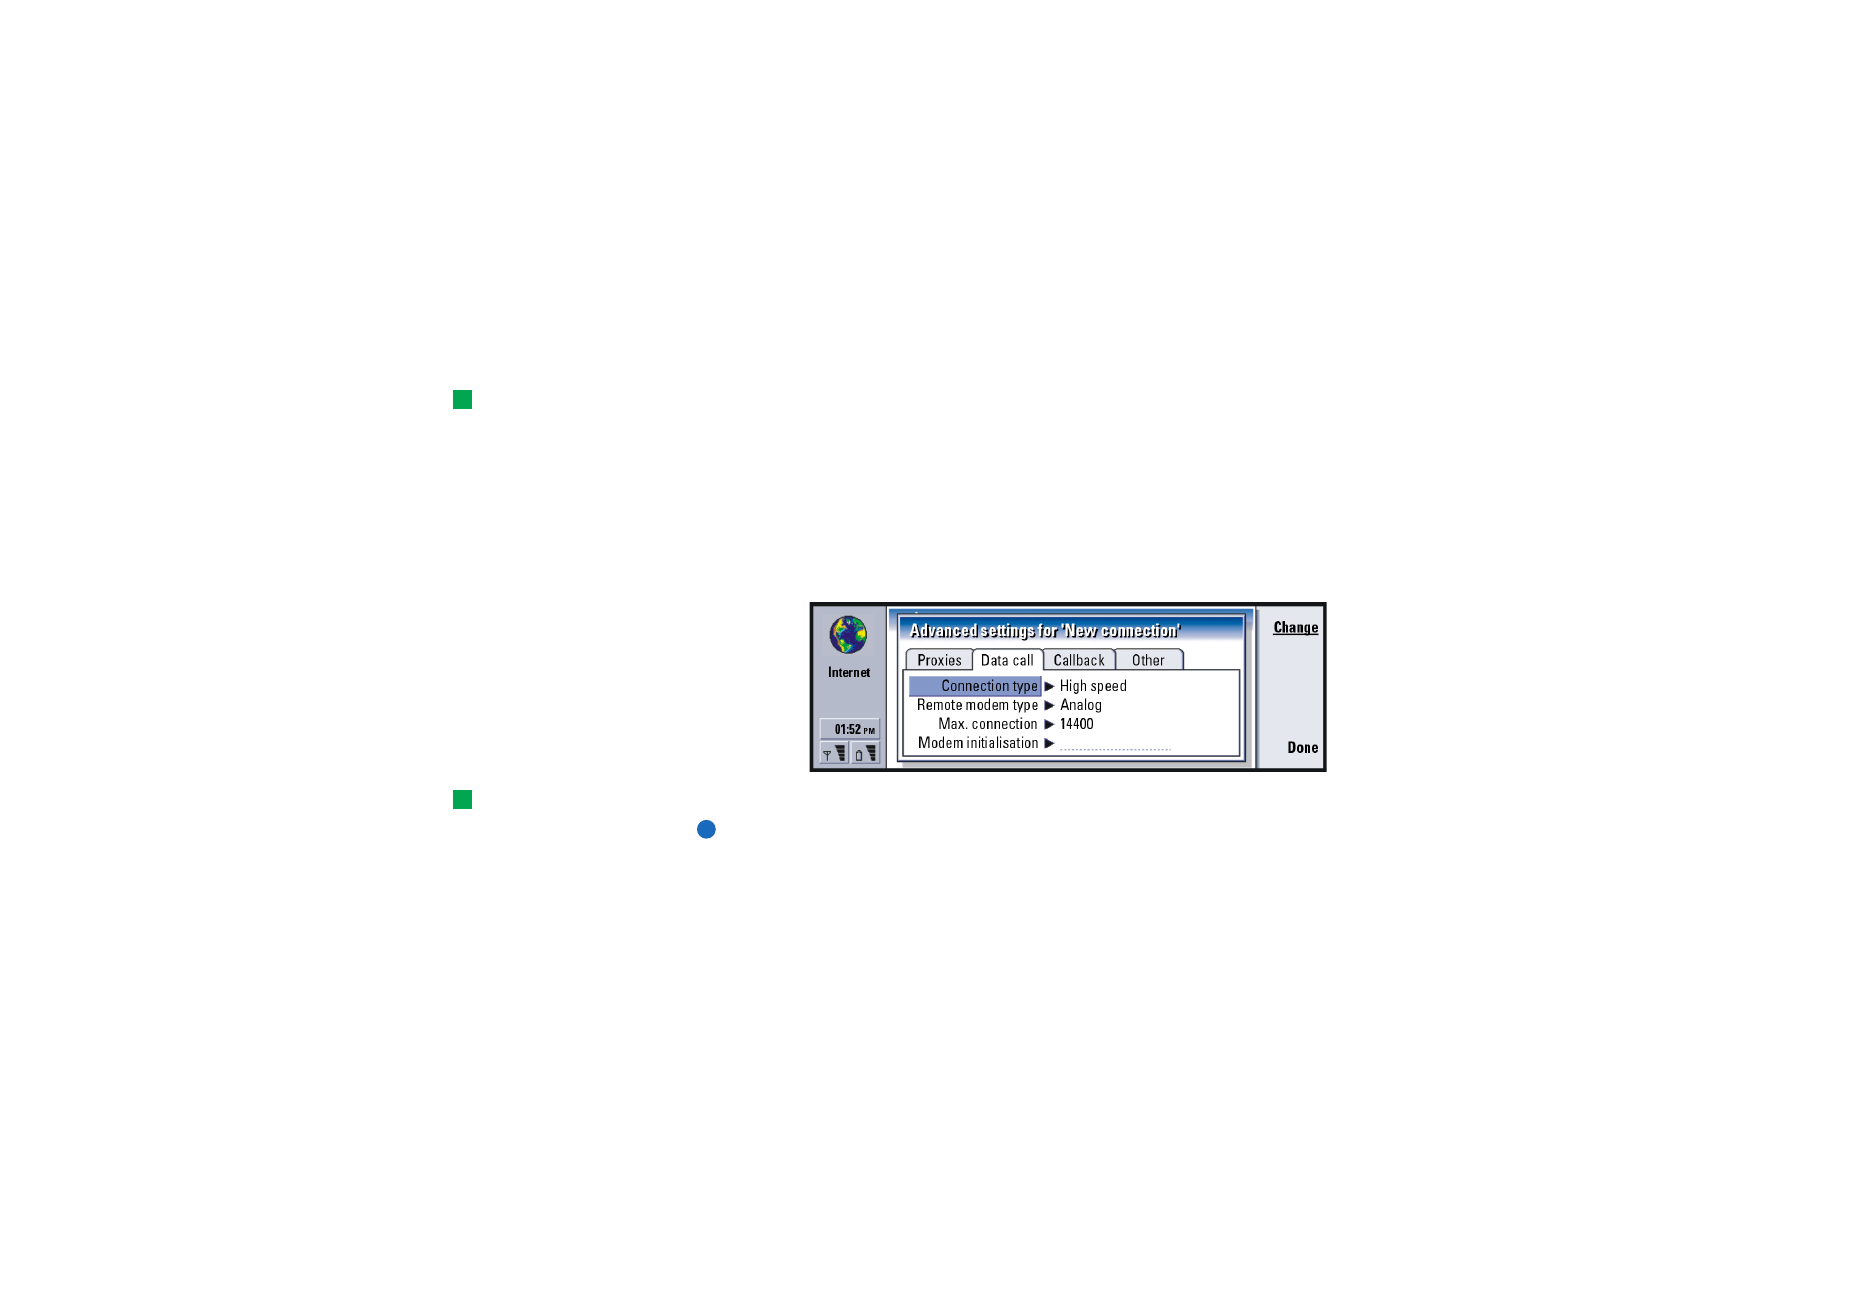
Data call page
Figure 55
Tip: To divert and bar
data calls, go to the Internet
application main view, then
press Tools > Control panel >
Data call barring.
Connection type: The options are Normal/High speed.
Note: To be able to use High speed, the network service provider has to support
this feature, and if necessary, to activate it for your SIM card.

©2001 Nokia Mobile Phones. All rights reserved.
139
Internet
Remote modem type: The options are Analog/V.110 ISDN/V.120 ISDN. This setting can
depend on both your GSM network operator and ISP, because some GSM
networks do not support certain types of ISDN connections. For details,
contact your ISP. If ISDN connections are available, they establish
connections more quickly than analog methods.
Tip: A very basic GSM
data connection is:
Connection type: Normal,
Remote modem type: Analog,
and Max. connection speed:
Automatic.
Max. connection speed: The options are Automatic/9600/14400/19200/28800/38400/
43200, depending on what you have chosen in Connection type and Remote
modem type. This option allows you to limit the maximum connection
speed when High speed is used. Higher data rates may cost more,
depending on the network service provider.
Note: The speeds above are the maximum speed at which your connection will
operate. During the connection, the operating speed may be less,
depending on network conditions.
Modem initialisation: Controls your communicator using modem AT commands. If
required, enter characters specified by your GSM network service provider
or ISP.
Callback page
Use callback: This option allows a server to call you back once you have made the
initial call, so you have a connection without paying for the call. Contact
your ISP to subscribe to this service. The options are Yes/No.
Note: Charges may apply for certain types of received calls, such as roaming
and high speed data calls. Contact your GSM network operator for more
information.
©2001 Nokia Mobile Phones. All rights reserved.
140
Internet
Note: The communicator expects the callback call to use the same data call
settings that were used in the callback-requesting call. The network
must support that type of call in both directions, to and from the
communicator.
Callback type: The options are Use server number/Use server number (IETF)/Use number
below. Ask your ISP for the correct setting to use; it will depend on the
ISP’s configuration.
Callback number: Type in your communicator’s data phone number which the dial
back server uses. Usually, this number is the data call phone number of
your communicator.
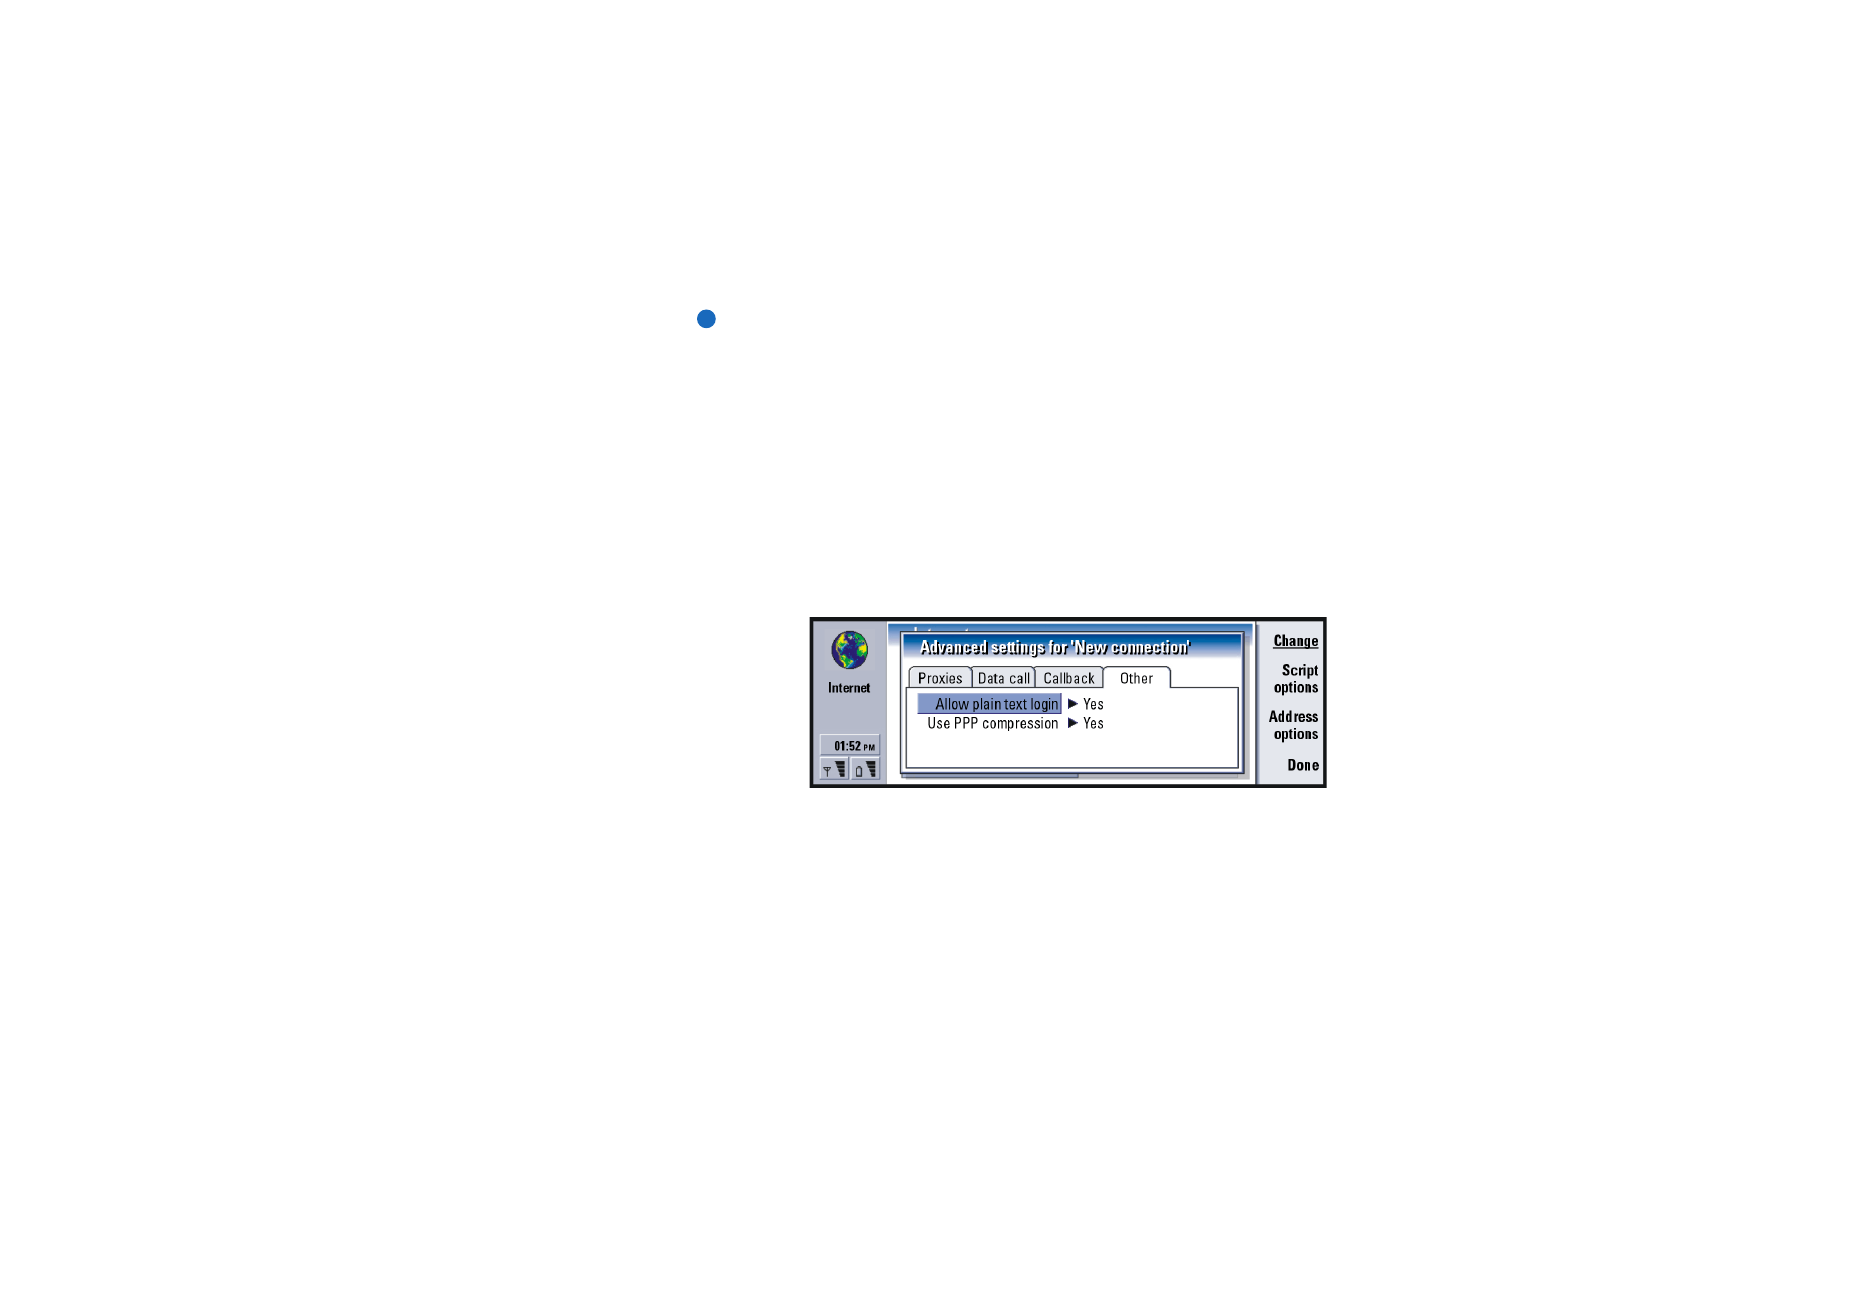
Other page
Figure 56
Allow plain text login: When set to Yes, the password at connection may be sent in
clear. The options are Yes/No. For optimum security, use option No. Some
ISP’s require that this setting is Yes.
Use PPP compression: When set to Yes, this option speeds up the data transfer, if it
is supported by the remote PPP server. The options are Yes/No. If you have
problems with establishing a connection, try setting this to No. Contact
your ISP for guidance.
©2001 Nokia Mobile Phones. All rights reserved.
141
Internet
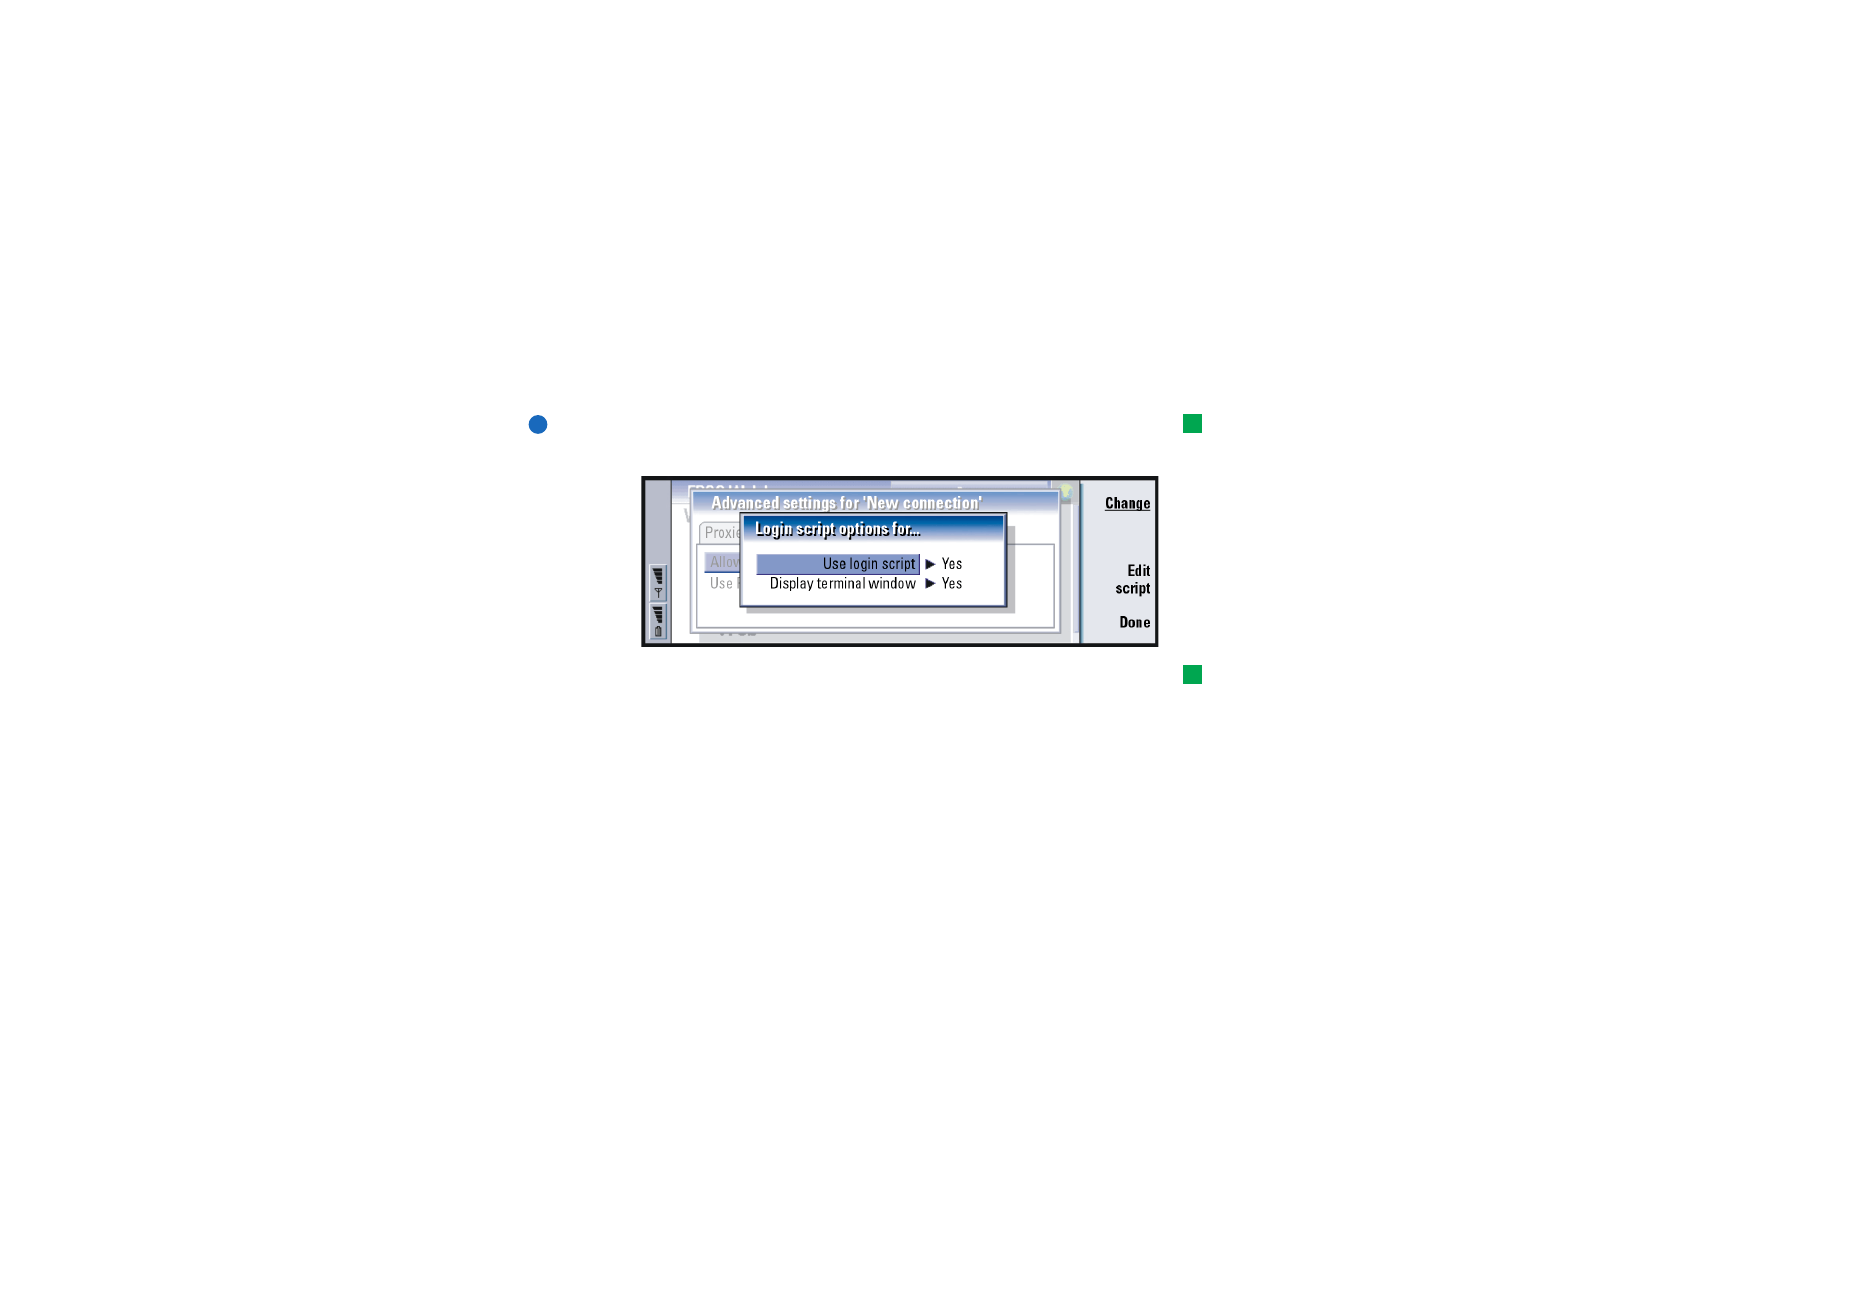
If you need to define script options for your Internet connection, move to the
‘Other’ page of the Advanced settings dialog, then press Script options. A script
can automate the connection between the communicator and the server. See
Figure 57.
Tip: Your ISP may be able
to provide you with a script.
Note: Scripts are not usually required when you establish a connection. To find
out whether you need a script, contact your ISP.
Figure 57
Tip: Advanced users will
find scripting an advantage,
where use of scripting is
allowed. You can obtain
instructions from Forum
Nokia at URL
www.forum.nokia.com
Press Edit script to edit the script. In the Edit script dialog you can press Import
script to import a script. On importing, it replaces the current contents of the
script file.
Use login script: The options are Yes/No.
Display terminal window: The options are Yes/No. If you choose Yes, once a
connection is established you see the execution of the script. Use this
window when resolving connection problems related to scripting, with
your ISP.
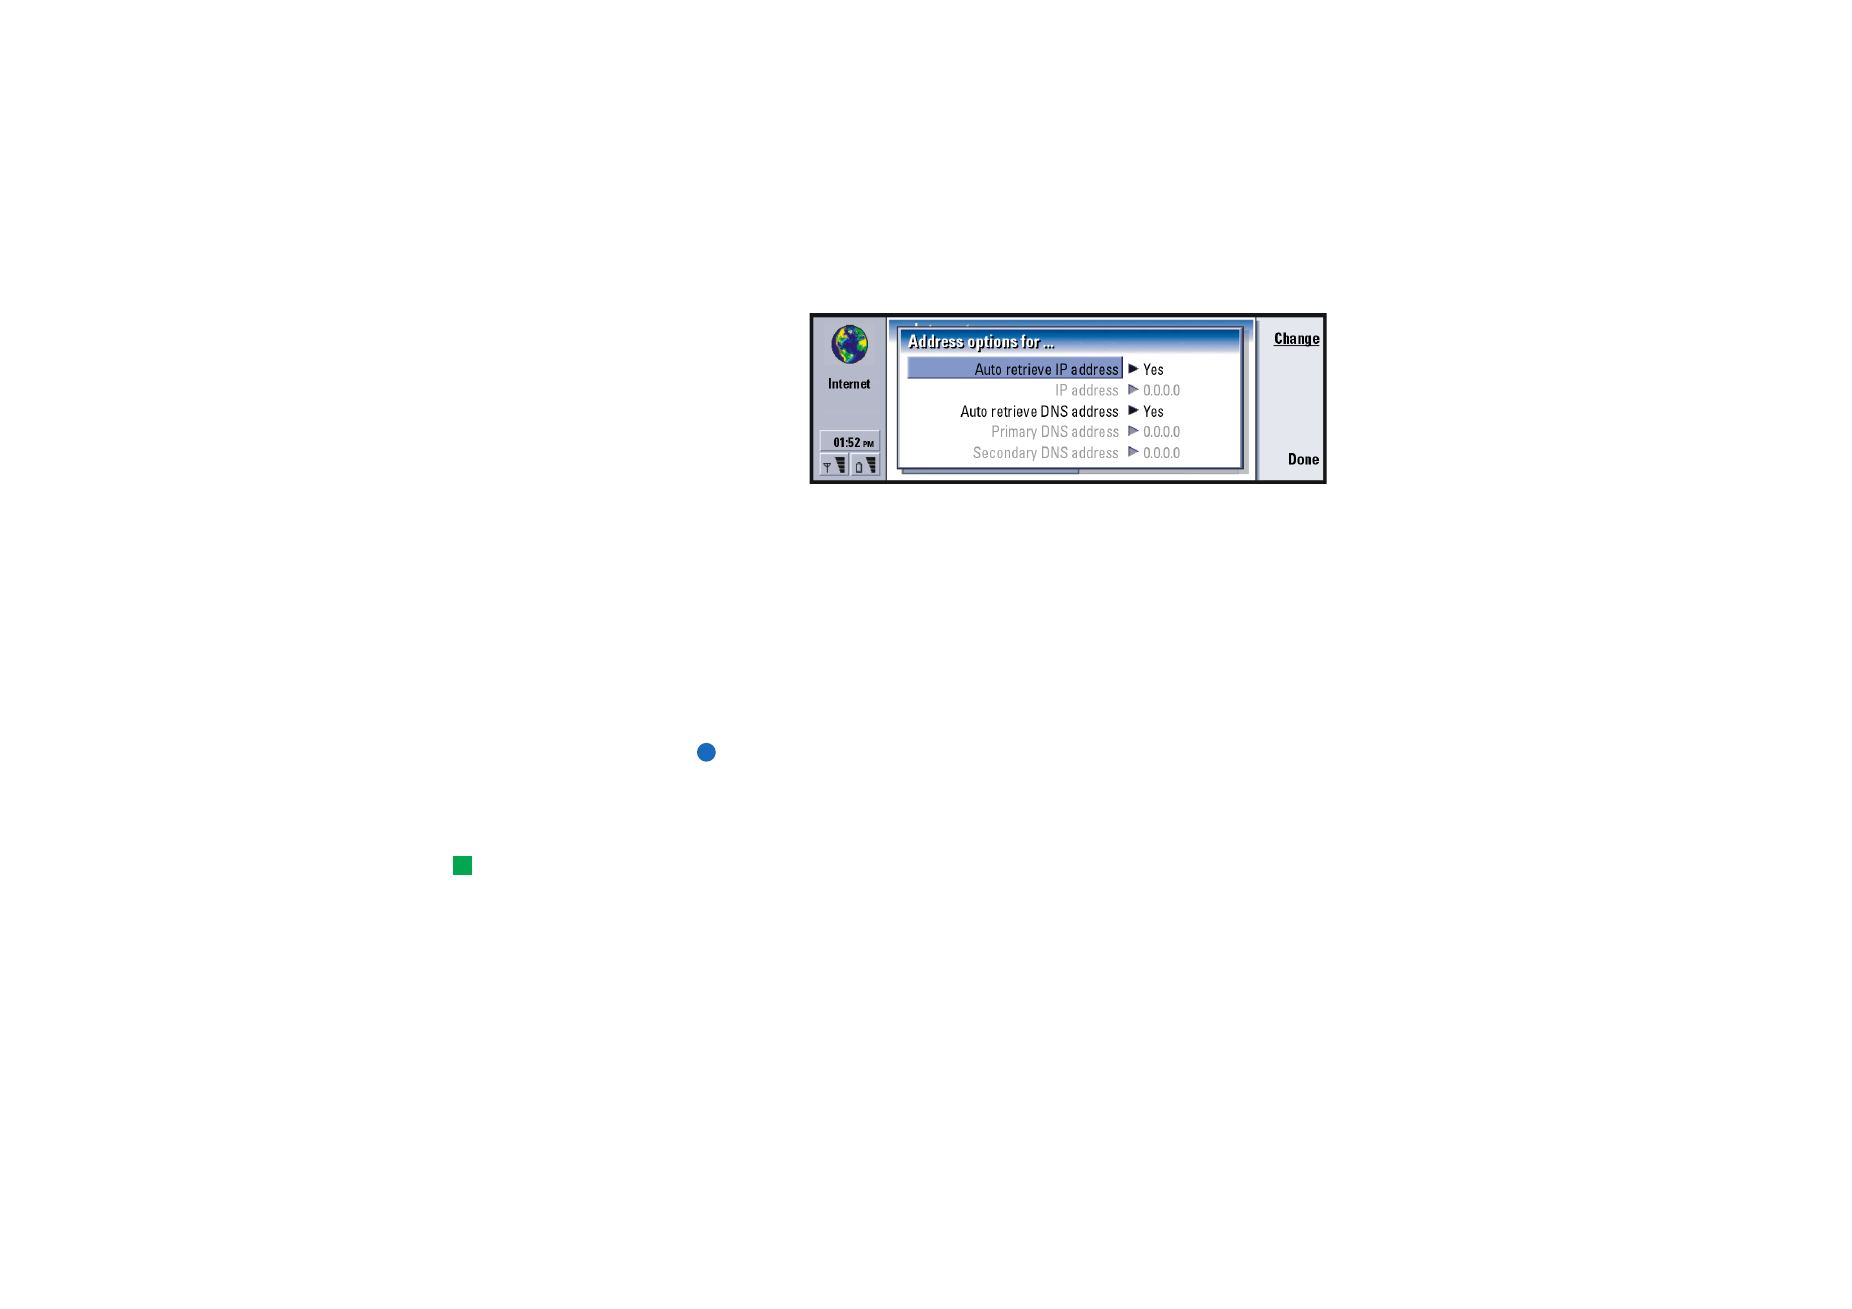
On the Other page of the Advanced settings for ’%S’ dialog, press Address options to
define the IP and DNS addresses. See Figure 58.
©2001 Nokia Mobile Phones. All rights reserved.
142
Internet
Figure 58
Auto retrieve IP address: When set to Yes, the IP address is obtained automatically
from the server. The options are Yes/No. This setting is also called ‘dynamic
IP address’.
IP address: The IP address of the communicator. If the IP address is obtained
automatically, then you are not required to enter details here.
Auto retrieve DNS address: When set to Yes, the DNS (Domain Name Server) address
is obtained automatically from the server. The options are Yes/No.
Primary DNS address: The IP address of the primary DNS server.
Secondary DNS address: The IP address of the secondary DNS server.
Note: If you need to enter the IP address, Primary DNS address, or Secondary DNS
address, contact your ISP to obtain these addresses.
To establish an Internet connection
Tip: You can have more
than one application open
and connected to the
Internet at the same time.
1 Press the Internet application button on the communicator keyboard.
©2001 Nokia Mobile Phones. All rights reserved.
143
Internet
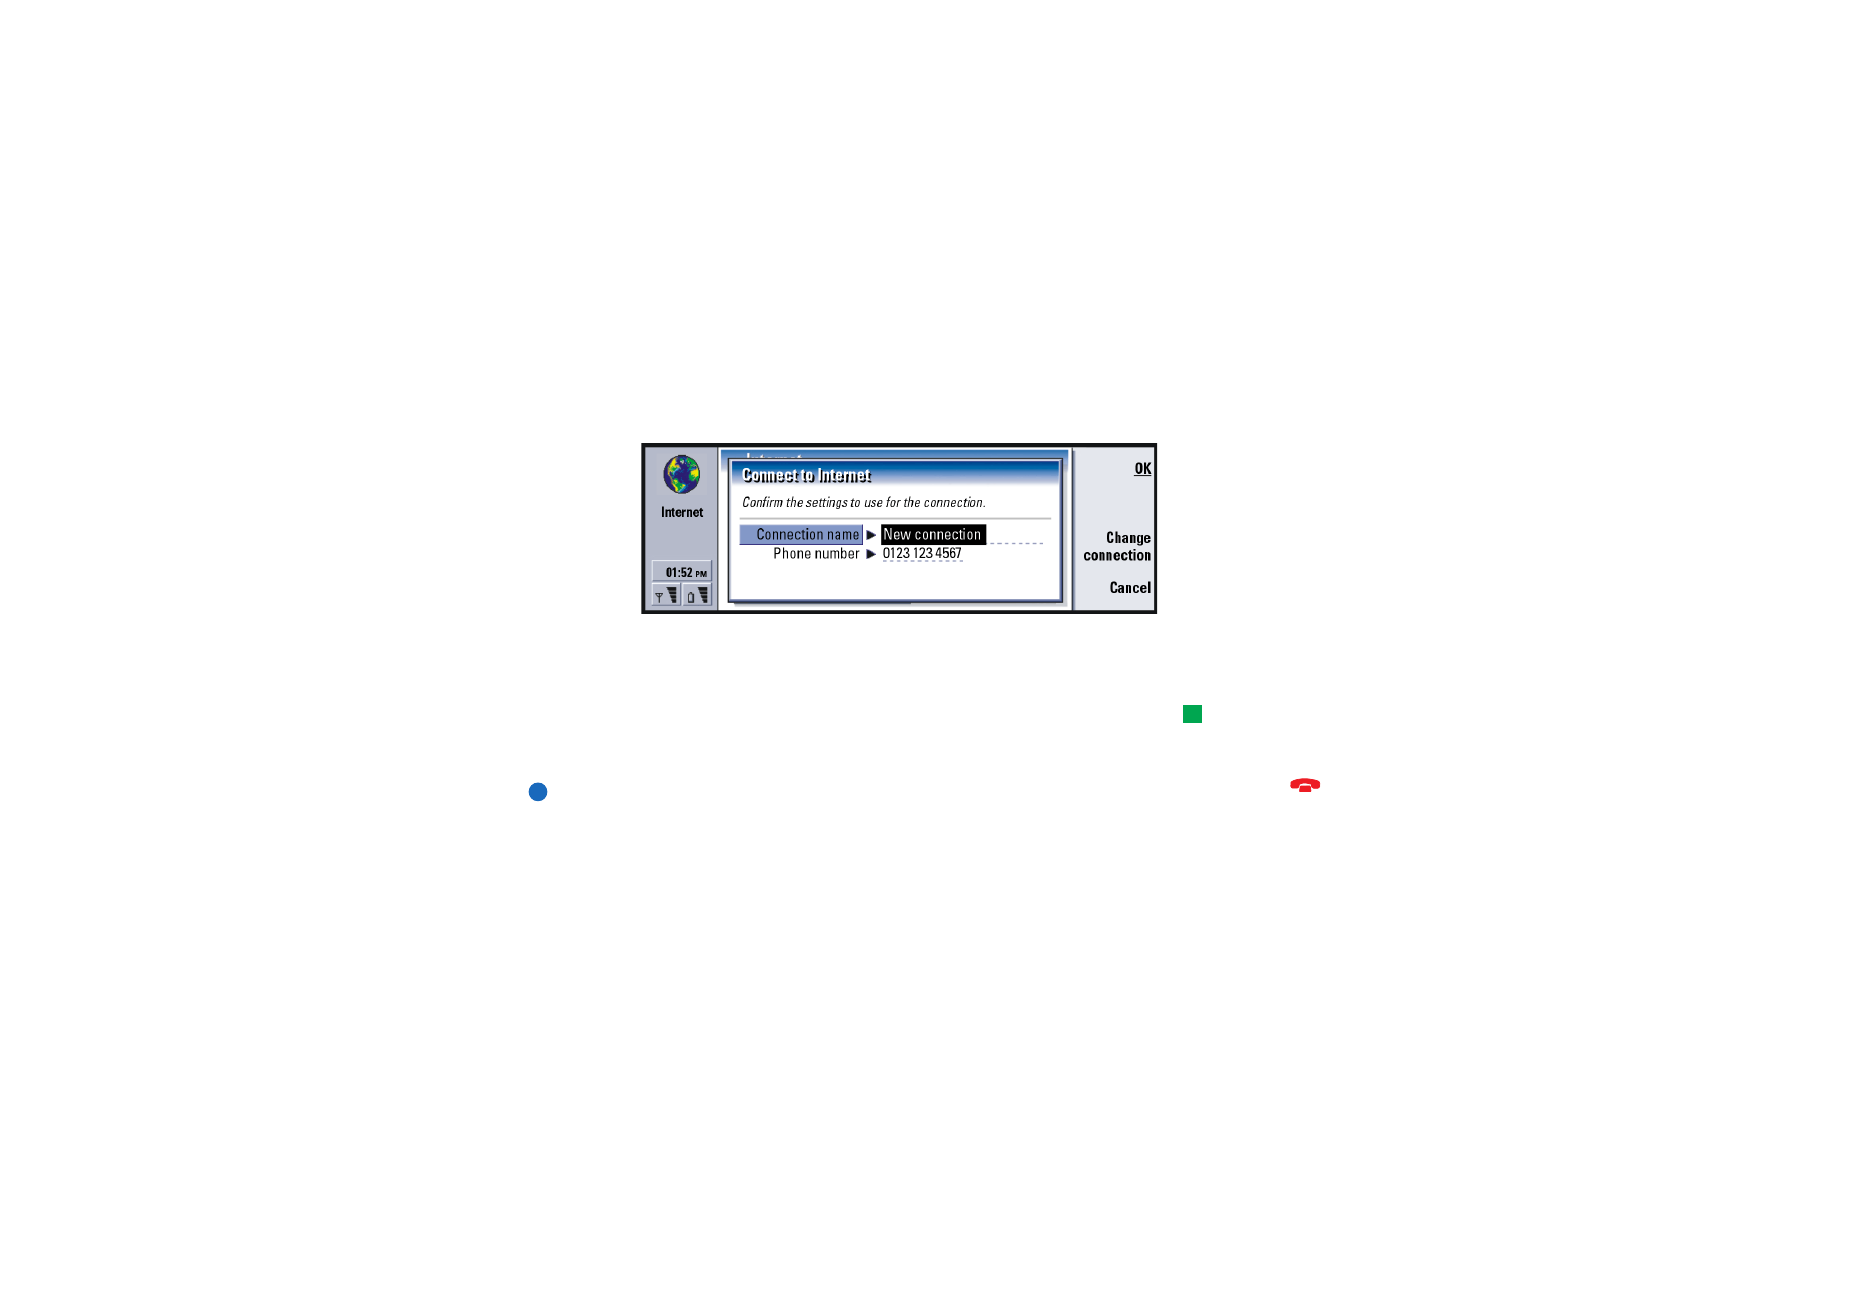
2 Select the application you want, for example WWW, and press Open. When the
application needs to make a connection, a dialog opens, showing the
Connection name and Phone number of the Internet access point you are using
to establish a connection. See Figure 59. You can choose to see the connection
dialog; see ‘Internet connections’ on page 135.
Figure 59
If you wish to change the Internet access point, press Change connection.
3 Press OK to establish a connection.
4 To close an application, press Done.
Tip: An alternative way
to disconnect from the
Internet is to close the cover
and press the
key.
5 To disconnect from the Internet, in any of the Internet applications, press the
Internet button on the keyboard, then press Disconnect. Disconnection is
immediate.
Note: Depending on the network configuration and load, establishing an
Internet connection may take up to one minute or more.

©2001 Nokia Mobile Phones. All rights reserved.
144
Internet