To create contact groups
You can create contact groups to save time by sending e-mails and short messages
to all members of the contact group in one action.
1 With the Contacts directory main view displayed, press the Menu key and select
File > New group…. A blank group contact card opens.
2 Enter a name for your group.
3 To add contacts to the group, press Add member. A list of contact cards and
groups opens.
4 Select a contact and press Add. Note that you can add another contact group
to a group.
5 To attach a picture for the group, press > on the Arrows key to move to the
picture frame. Alternatively, press the Menu key and select Group > Insert
picture. A dialog displaying the contents of the default folder opens. Select a file
and press OK, or press Browse to search for a picture file.
6 To save the group contact card, press Done.
Character
Function
*#
The asterisk and hash symbols may be used if the DTMF service requires them
p
Inserts a pause of approx. 2 seconds before, or between, DTMF characters
w
If you use this character, the remaining sequence is not sent until you press
Send tone again during the call.

©2001 Nokia Mobile Phones. All rights reserved.
104
Con
tacts
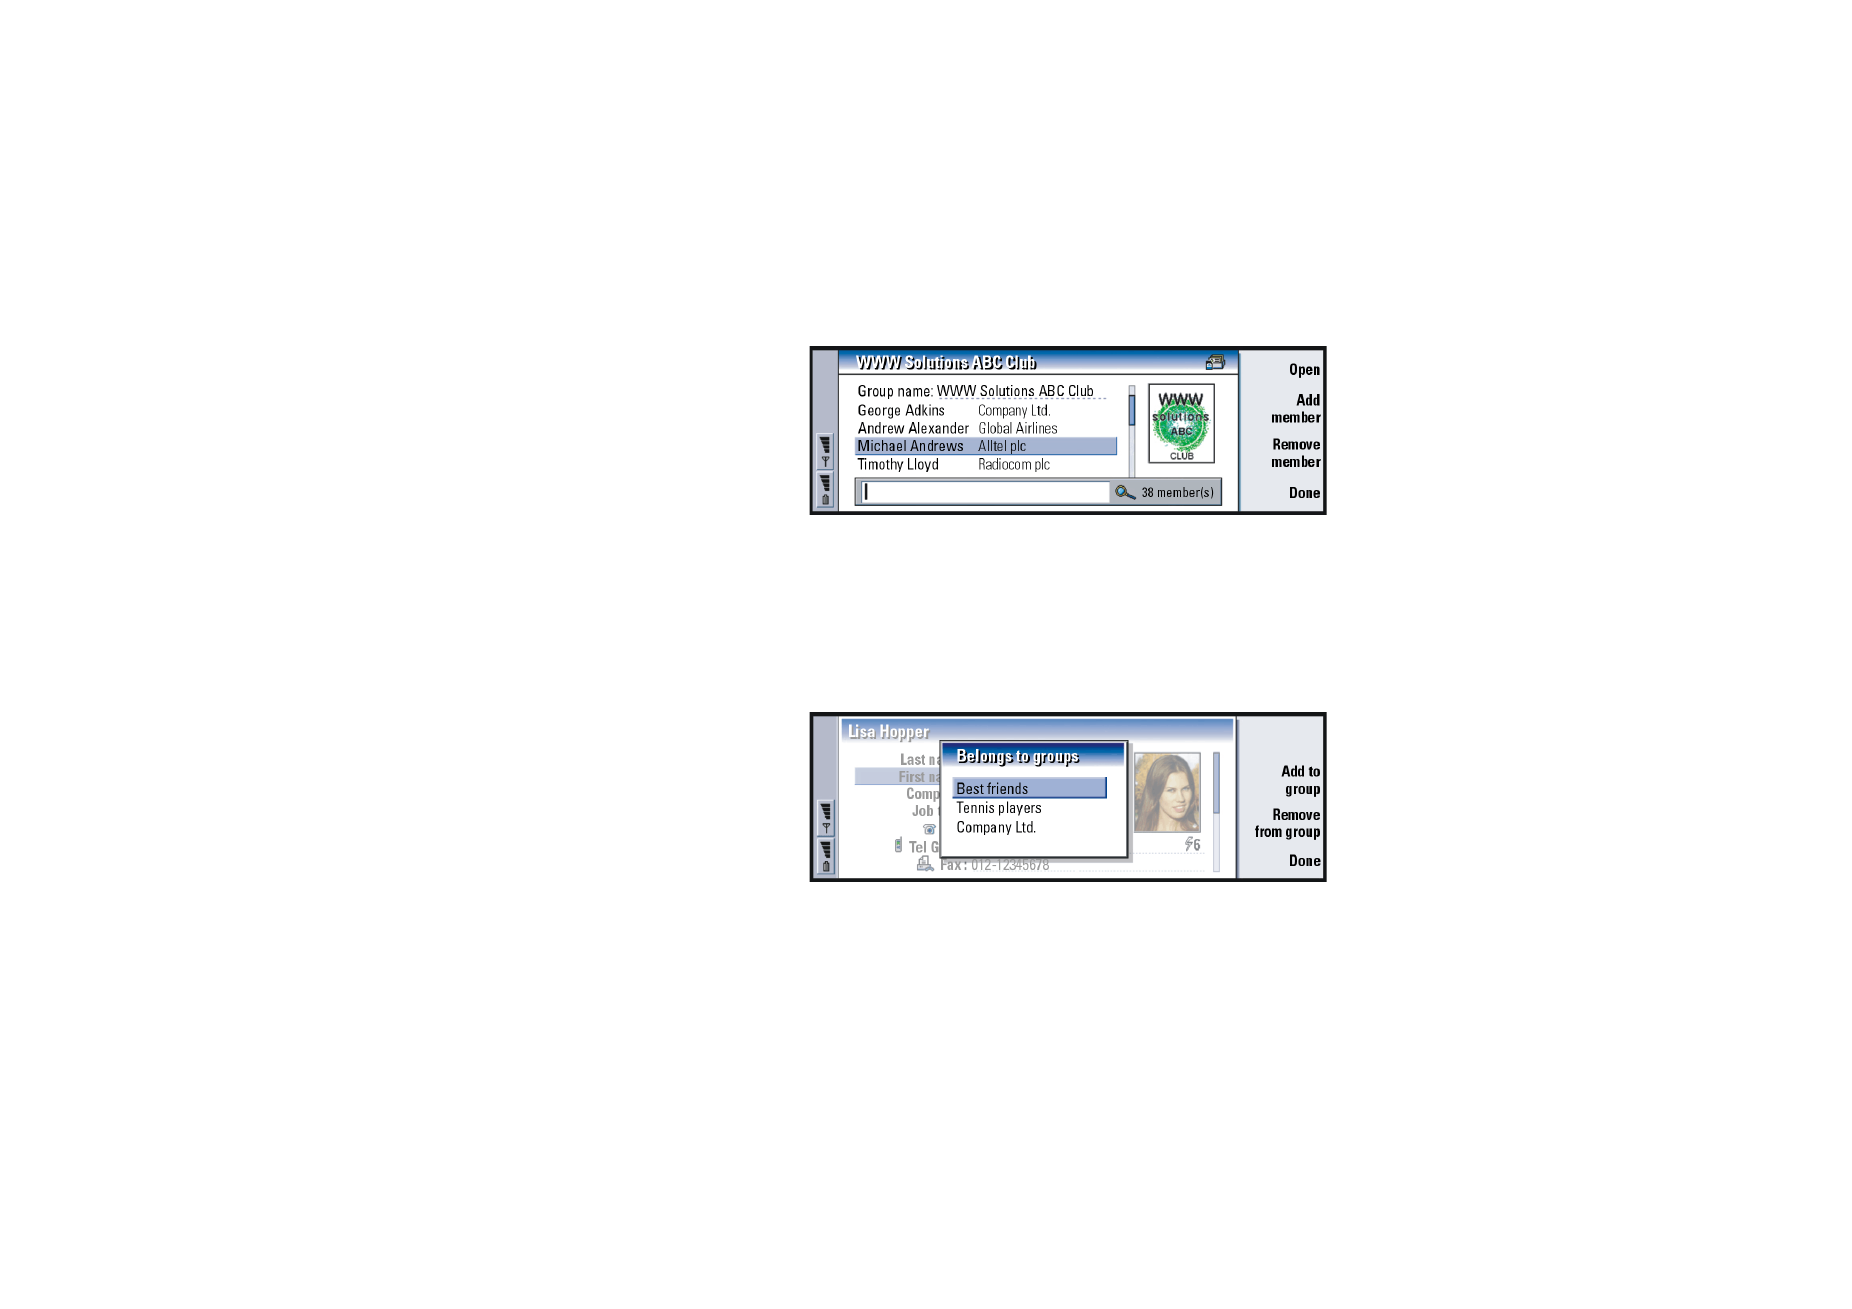
An example of a contact group with members is shown in Figure 33.
Figure 33
The company name, if it also exists in the original contact card, appears to the right
of the name of the contact. Select Open to view the details of any of the group
members.
To change group memberships for a contact or a
group
Figure 34
1 To view or change the groups to which a contact or a group belongs, open the
contact card, press the Menu key, and select Card or Group > Belongs to groups.
A list opens, showing memberships for the contact or group.

©2001 Nokia Mobile Phones. All rights reserved.
105
Con
tacts
2 To add the card to a new group, press Add to group. A list of contact groups in
the current database opens.
3 Select a group and press Add. Your contact card or group contact card is added
to the group.
4 Press Done to save your changes.