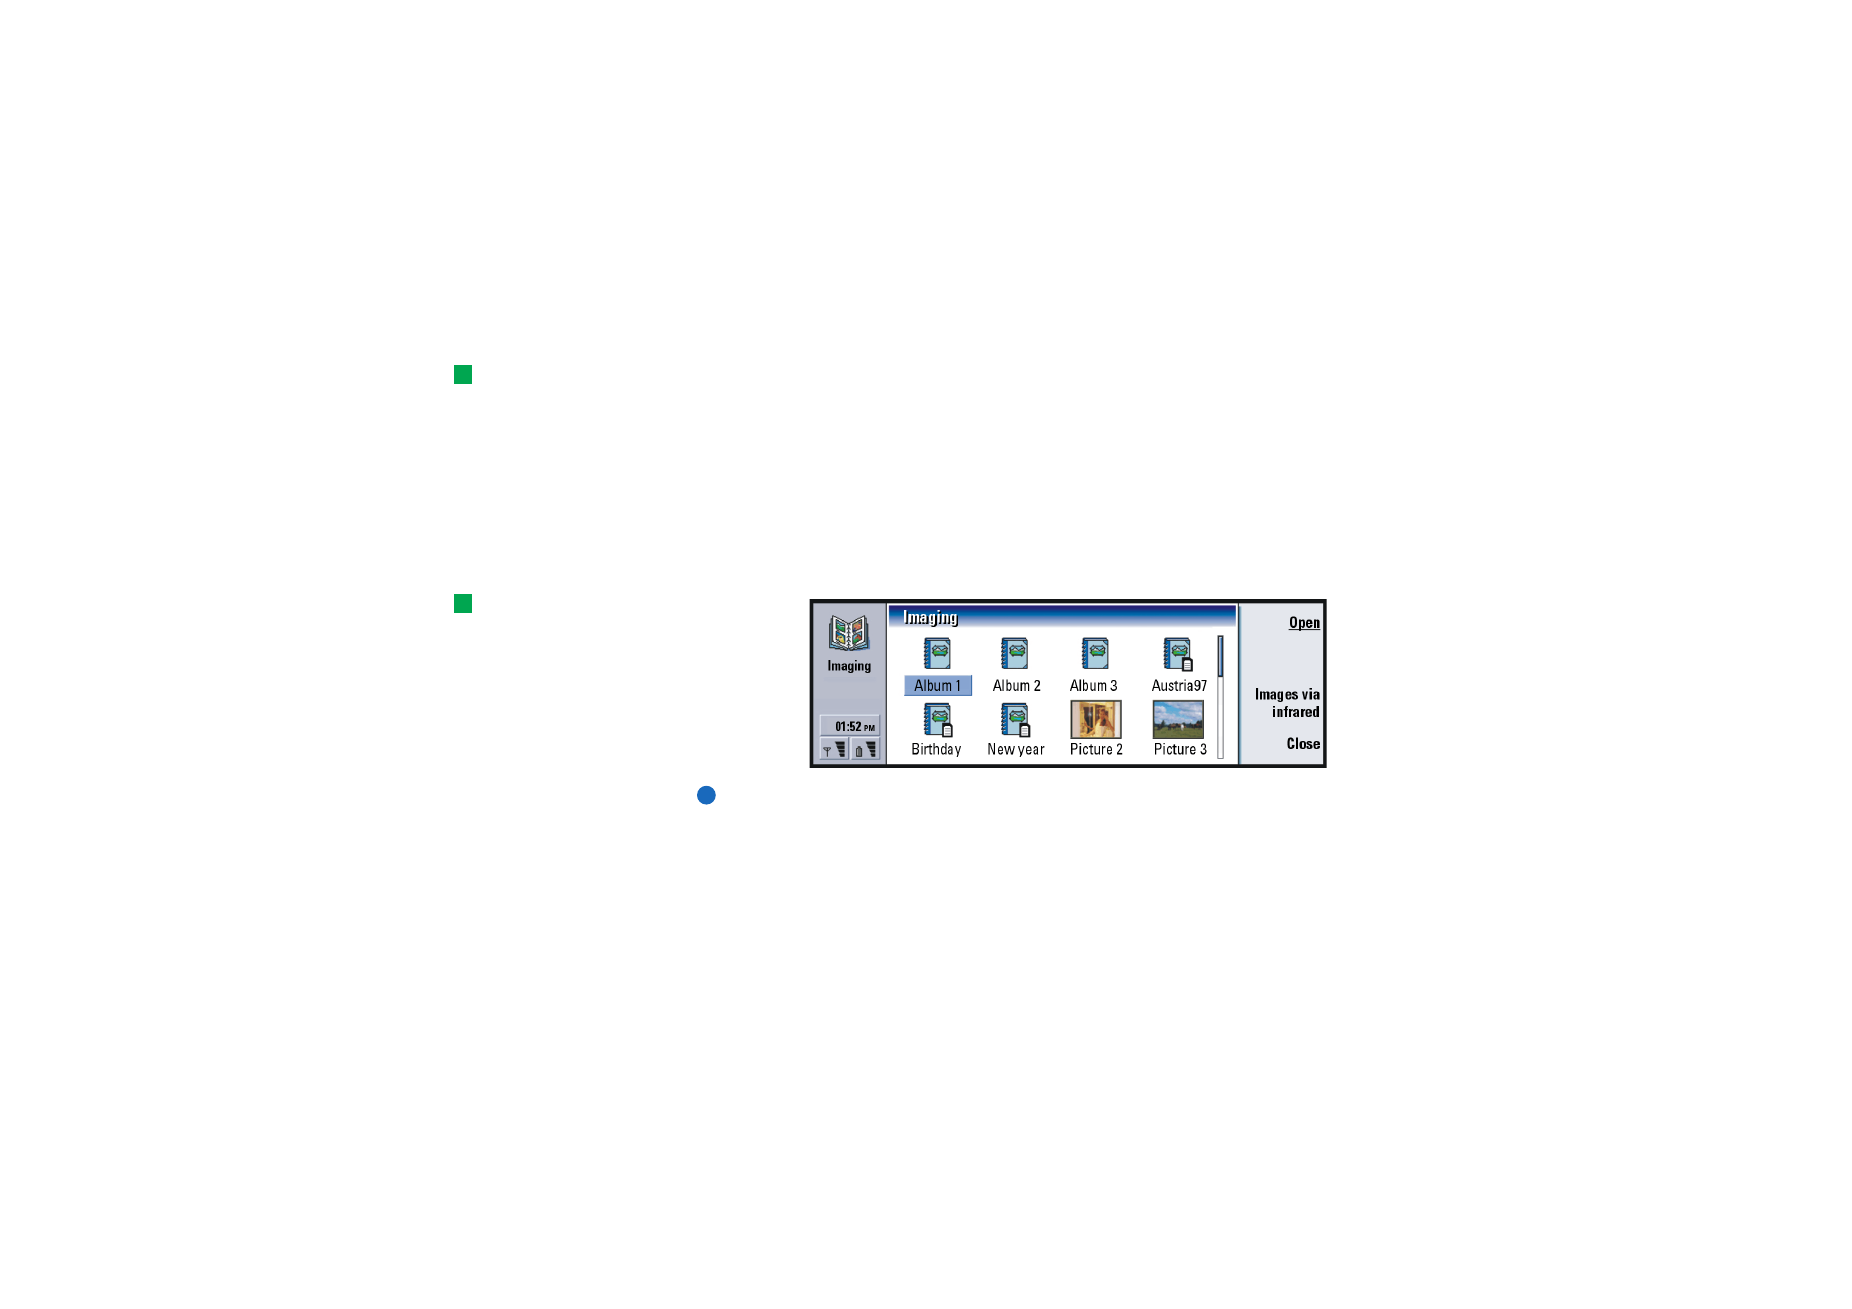
Imaging
The Imaging application acts as a file manager for images. Application folders
created for storing images are called albums. Images appear as thumbnail images
in albums. A thumbnail image is a small image representing the original full size
image.
©2001 Nokia Mobile Phones. All rights reserved.
226
Ex
tr
as
Imaging supports a wide range of image formats, among them JPEG, TIFF, GIF,
BMP, MBM, and WBMP.
Tip: Press the Menu key
and select View > Zoom >
Zoom ratio… to zoom by
exact figures.
You can open all commonly used image files directly for viewing. You can press
Zoom in to enlarge the image, Zoom out to reduce the image on the display, and
Rotate to rotate the image.
To view image properties, press the Menu key and select File > Properties…
You can use the Imaging application for viewing images and handling image
albums.
You can delete, rename, copy, and move images from one album to another and
create your own favourite albums.
Tip: If you have images or
albums in the
d:\Documents\Photo gallery\
directory on an inserted
memory card, they also will
appear in this view.
Figure 94
Note: Albums can contain only images, not subalbums.
You can also receive images via IR. For details, see ‘To receive images via infrared’
on page 229.
To create a new album
1 Press the Menu key and select File > New album…. A dialog opens.
2 Define the following:

©2001 Nokia Mobile Phones. All rights reserved.
227
Ex
tr
as
Name: Name of the album.
3 To save the album in the communicator, press Create locally.
To save the album in the memory card, press Create in mem. card.
To view album contents
Tip: To open an image
located outside the image
albums, select File > Open
from….
1 Select the album in the Imaging main view and press Open. A thumbnail view
of the album contents opens.
2 You can scroll the contents of the album with the Arrows key.
To open an image for viewing , press Open.
3 To view the next frame in the image, if available, press the Menu key and select
View > Next frame. To return to the previous image, select Previous frame.
4 Press Close to return to the thumbnail view.
To move images to and from albums
Tip: You can select
several images with the
Space key. You can also use
the Edit menu commands
and the corresponding
shortcuts (Ctrl+c, Ctrl+x,
Ctrl+v) to move or copy
images.
1 Select the image or images in the thumbnail view with the Arrows key.
2 Press the Menu key and first select Edit > Copy or Cut.
3 Press Close album.
4 Open the target album.
5 Press the Menu key and select Edit > Paste.

©2001 Nokia Mobile Phones. All rights reserved.
228
Ex
tr
as
Tip:To rename albums or
images, select File >
Rename…., define a name,
and press OK. The file
extension cannot be
changed.
6 If the target album already has an image or images with the same name, a
confirmation note appears asking you if you wish to replace the existing image.
Choose from the following options:
Replace - The existing image is replaced with the image you are pasting.
Replace all - All existing images are replaced with the same name.
Skip - Skips the image and continues the operation.
Cancel - Cancels the whole paste operation.
To create new images from originals
You can choose parts of an opened image, save them as separate images, and reuse
them.
1 Open an image. Press the Menu key and select Edit > Select image range. The
selection frame is now visible on the image.
2 To move the selection frame, use the Arrows key.
To change the size of the selection frame, press down the Ctrl key and use the
Arrows key.
3 To save the frame as an image, press the Menu key and select File > Save as….
Select Selected range.
4 Select the folder you wish to save in, give a name for the new image file, and
press OK.
To resize images
1 Press the Menu key and select Tools > Resize…. A dialog opens.
2 Scroll with the Arrows key to select the new size and press Select or press Best
fit to get the values of the view where the image fits horizontally to the screen
into the dialog fields.

©2001 Nokia Mobile Phones. All rights reserved.
229
Ex
tr
as
To receive images via infrared
1 Open the album where you want to save the received file.
2 Press Images via infrared. A dialog opens.
3 Select one of the following:
Receive in album: To receive the image and save it.
Receive and mail: To receive the image and send it as an e-mail message.
Receive and fax: To receive the image and send it as a fax.
4 Press OK.